
- Authors
- Written by :
- Name
- Ankur Sharma
How to add dynamic Open Graph Images in Next.js
- Published on
- Published On:
Open Graph Image is the thumbnail or preview image that will be displayed on social media platforms (such as Facebook, LinkedIn, Slack, etc.) to preview your webpage whenever anyone shares the links and it plays a crucial role in enhancing your website's visibility and sharing on social media platforms. These images provide a visual representation when you or others share links to your web content.
What is Open Graph (OG)?
Open Graph (OG) is basically a protocol that controls and decides what content will be displayed when anyone shares the link of your website to a social media channel. Open Graph Protocol allows you to decide what image content, title, and description should be displayed whenever someone or you share the web page link on a social media channel.
To achieve this Open Graph Protocol in web pages we use Open Graph Meta Tags. These are additional meta tags that will be added in < head > section with additional og: property.
Following are required properties for every page to include Open Graph Protocols:
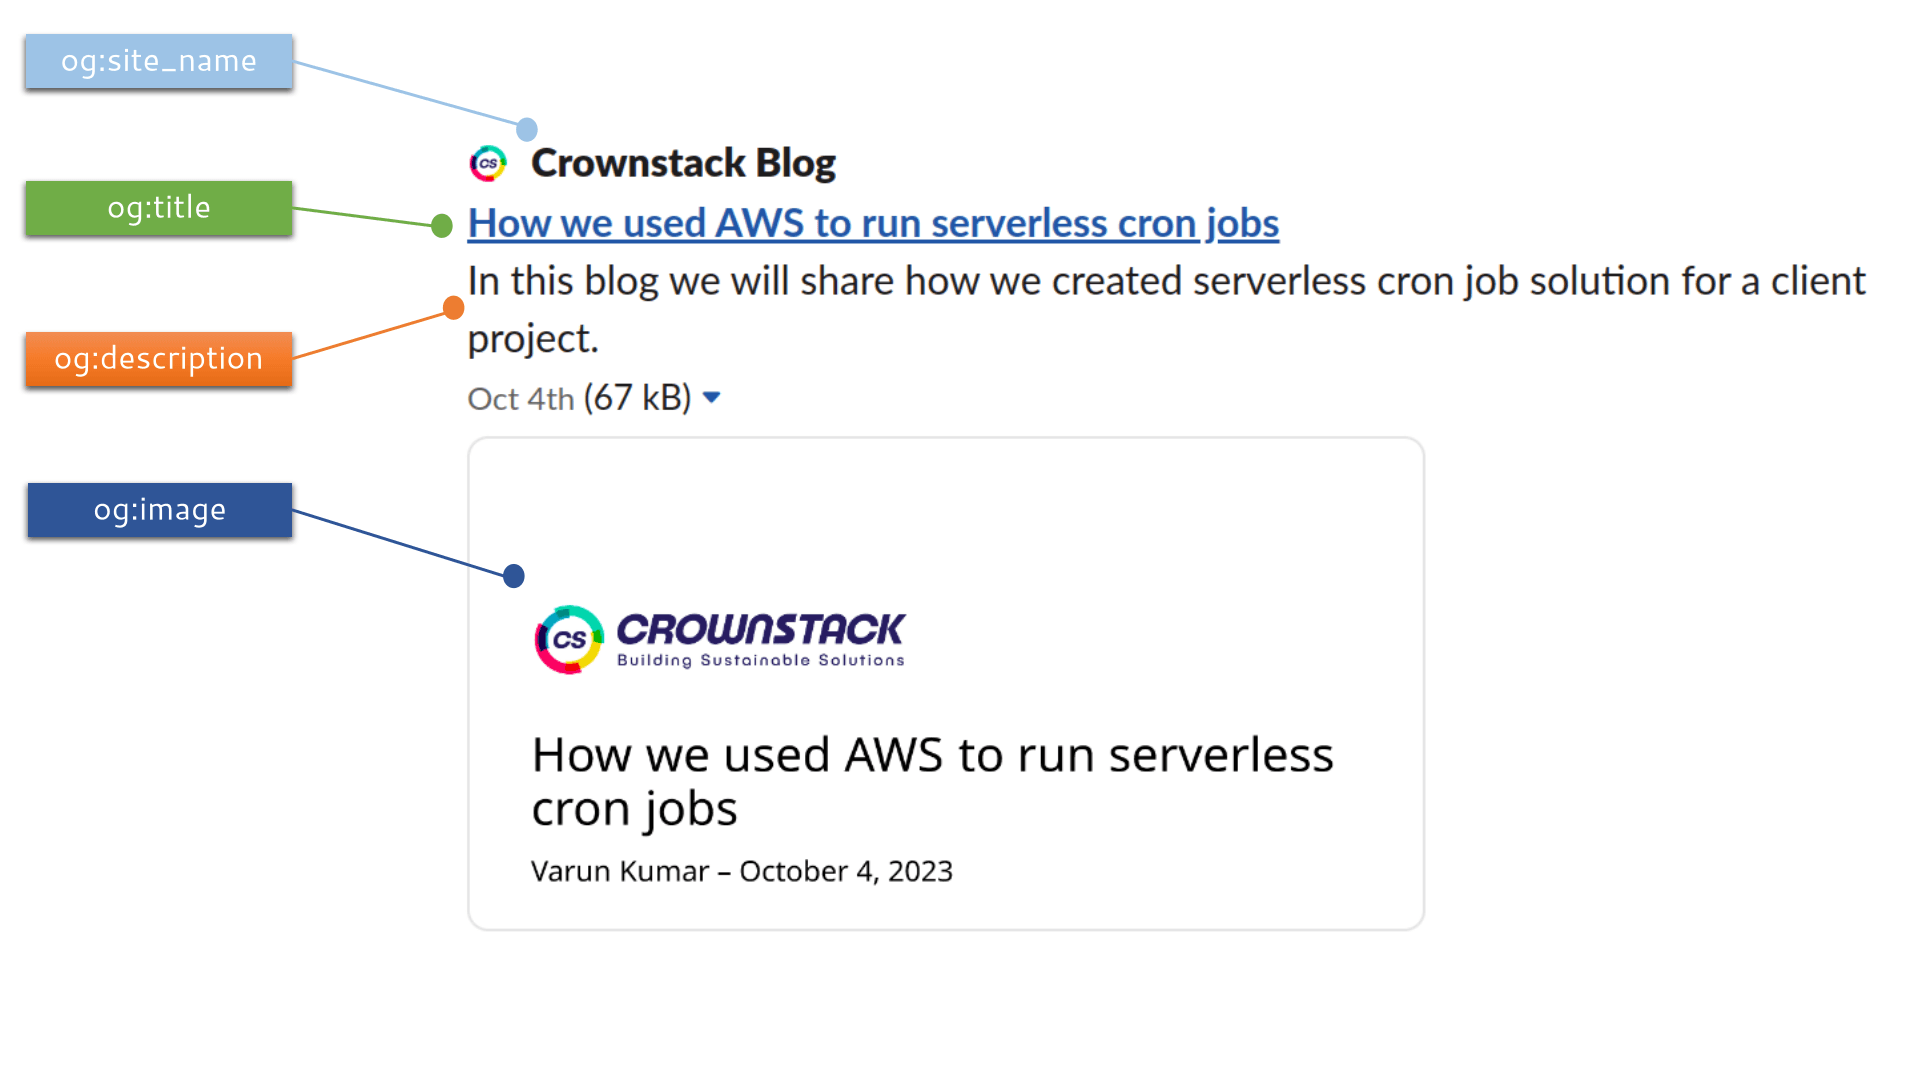
og: title- The title that will be displayed when sharing links, e.g., "How we used AWS to run serverless cron jobs".og: type- The type of content, e.g., "article". Other properties will be required depending on what type you have added.og: image- The image URL for what image should be displayed upon sharing the link.og: URL- The canonical URL of your page, as it will be a permanent ID, e.g., "https://blog.crownstack.com/blog/cloud/aws/how-we-used-aws-to-run-serverless-cron-jobs".
Take a look at the example of how to add these tags to your web pages.
<html lang="en" class="scroll-smooth light" style="color-scheme: light;">
<head>
<meta charset="utf-8">
<title>How we used AWS to run serverless cron jobs</title>
<meta property="og:title" content="How we used AWS to run serverless cron jobs" />
<meta property="og:description" content="In this blog we will share how we created serverless cron job solution for a client project.">
<meta property="og:type" content="article" />
<meta property="og:url" content="https://blog.crownstack.com/blog/cloud/aws/how-we-used-aws-to-run-serverless-cron-jobs" />
<meta property="og:image" content="https://blog.crownstack.com/api/ogImage?title=How%20we%20used%20AWS%20to%20run%20serverless%20cron%20jobs&author=Varun%20Kumar&date=2023-10-04T00%3A00%3A00.000Z&cover=%2Fstatic%2Fimages%2FLogo-light.png" />
...
</head>
...
</html>
Your link preview will look like this (actual preview taken from Slack Link Preview functionality):
For more information, you can directly visit Open Graph Protocol.
Dynamic Open Graph Images
Open Graph Images can be added in og:image meta tag as following :
<html lang="en" class="scroll-smooth light" style="color-scheme: light;">
<head>
...
<meta property="og:image" content="https://blog.crownstack.com/api/ogImage?title=How%20we%20used%20AWS%20to%20run%20serverless%20cron%20jobs&author=Varun%20Kumar&date=2023-10-04T00%3A00%3A00.000Z&cover=%2Fstatic%2Fimages%2FLogo-light.png" />
...
</head>
...
</html>
Unlike static Open Graph Images, dynamic Open Graph Images previews can be changed over time. The context in which dynamic Open Graph Images are implemented depends on the implementation of your requirements. It contains social image cards with variable content that are dynamic in nature.
Why to use Dynamic Open Graph Images?
Static Open Graph Images, as the name suggested, are static. It means that every time you share a link it will display the same image in the preview thumbnail. As for developers, for each page you want to generate every time, you have to manually add a specific image. This is not the case for dynamic Open Graph Image.
How to use Dynamic Open Graph Images?
As mentioned earlier, it depends on your context. In this blog, you will add Open Graph Images dynamically based on your dynamic content. For example, blog website content is dynamic. Each time a blog is added to the website, what we want is that if someone shares the link of that blog, a new preview image should be generated dynamically that displays the title, description, and author name of that blog.
While it is common to use static Open Graph Images, Next.js allows you to generate dynamic Open Graph Images at runtime. In this blog, you'll explore how you can create dynamic Open Graph Images using Next.js and Vercel OG Image generation.
Prerequisites
Before you start, make sure to check some important requirements:
- Node.js 16 or newer. Visit nodejs.org for more information.
- For Next.js implementations, recommended using Next.js v12.2.4 or newer.
@vercel/oglibrary to useImageResponseClass.
Technical details (@vercel/og)
The recommended OG image size is 1200x630 pixels.
@vercel/ogAPI reference- Limitation
Steps to Add Dynamic Open Graph Images
1. Install Dependencies
To get started, you need to install @vercel/og :
# Using yarn
yarn add @vercel/og

# Using npm
npm install @vercel/og
2. Create an API route
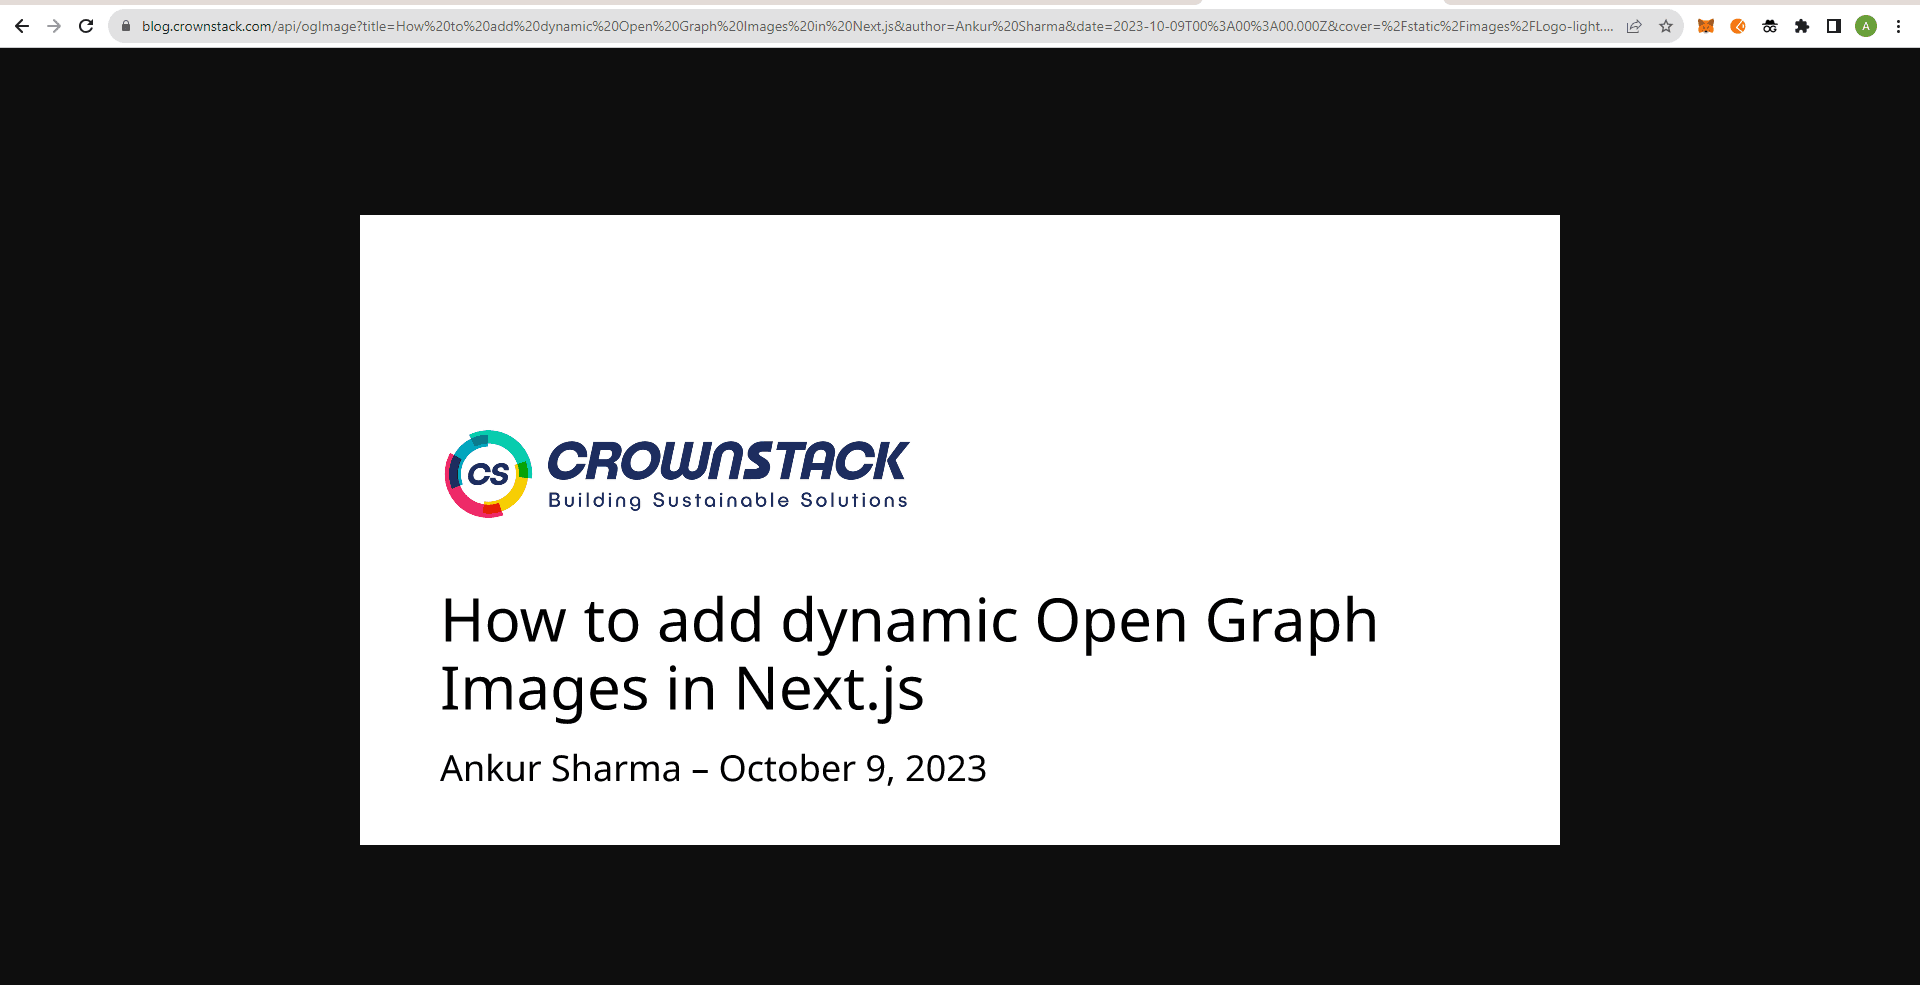
In this example, the blog image is made up of a static PNG Image, the blog title, the author name, and the published date. You will pass the blog title, author name, date, and image URL as a parameter.
Create an ogImage route in /pages/api and paste the following code:
//pages/api/ogImage.jsx

import {ImageResponse} from "@vercel/og"
import React from "react"

/**
Use 'edge' config flag as the default
**/
export const config = {
	runtime:"edge",
}
export default function handler(req, res) {
	try {
		const url = decodeURIComponent(req?.url || "", "http://localhost") // Provide a base URL if needed

		const {searchParams, protocol, host} = new URL(url)

		const title = searchParams?.get("title") || "No title"
		const author = searchParams?.get("author") || "Anonymous"
		const date = searchParams?.get("date") || "2022-11-08T12:00:00.000Z"
		const cover = searchParams?.get("cover")

		const coverUrl = cover && `${protocol}/${host}/_next/image?url=${encodeURIComponent(cover)}&w=1200&q=75`

		const imageResponse = new  ImageResponse(
		  (
		    <div tw="w-full h-full flex flex-col justify-end bg-white items-stretch">
		      {coverUrl && (
			    <div tw="flex-1 flex px-16 items-end">
				  <img
				    src={coverUrl}
					alt="Crownstack Logo"
					tw="h-28"
					style={{ objectFit: "", objectPosition: "left" }}
				  />
				</div>
			  )}
			  <div tw="bg-white flex-1 flex px-20">
			    <div tw="flex flex-col my-auto">
			      <div tw="mb-6 text-6xl font-bold">{title}</div>
			      <div tw="text-4xl">
				    {author + " – " + new Date(date).toLocaleDateString("en-US", { dateStyle: "long" })}
				  </div>
				</div>
			  </div>
			</div>
		  ),
		  {
			width: 1200,
			height: 630,
		  }
		)
	return  imageResponse
	} catch (error) {
		console.error(error)
		return  res.status(500).end("Internal Server Error")
	}
}
In this code, you use the ImageResponse class to generate the image with the specified dimensions. You can take the requested props as similar to what you wanted to generate in your Image content. You can also customize the JSX content inside the template literal to match your requirements.
3. Usage in Metadata
To use this dynamic Open Graph Image in your website's metadata, you can include it in your HTML <head> section. For example, in your Next.js layout or template:
import Head from "next/head";

function  PostSEO({title, author, date}) { //post data recevied as props from where the PostSEO component will used.
	const postTitle = title;
	const postAuthor = author;
	const postDate= date;
	const staticImage = "/static/images/Logo-light.png";
	const localHostUrl = "http://localhost:3000"; 	//You can import or add your image here

	const imageUrl = localHostUrl + "/api/ogImage?" +	//Replace this url with the actual URL of your Next.js application.
					"title=" + encodeURIComponent(title) +
					"&author=" + encodeURIComponent(author) +
					"&date=" + encodeURIComponent(date) +
					"&cover=" + encodeURIComponent(staticImage)
	return (
		<Head>
			{/* Other metadata */}
			<title>{title}</title>
			<meta
				property="og:image"
				content={imageUrl}
			 />
		</Head>
	);
}
export default PostSEO;
4. Add OG image API route(s) to Allow inside your robots.txt
# robots.txt

Allow: /api/ogImage/*
5. Testing
To test this dynamic Open Graph Image, open the website in a browser and share the link of a page on a social media platform like Facebook, Linkedin, Slack, or Twitter. The dynamic Open Graph Image should appear below the shared link.
6. Alternate ways to test
(a) Open your blog/post page and go to Inspect or Inspect element, then find meta tag with property="og: image"

(b) Open the url of content attribute in browser's new tab
Conclusion
Generating dynamic Open Graph Images in Next.js allows you to create more engaging previews for your web content. By following the above steps, you can implement the dynamic Open Graph Image and enhance your website's appearance when shared on social media. You can also modify and implement different ways to customize your dynamic Open Graph Images, such as adding SVG logos, background images, blur effects, and much more.